Quick Start with GitHub
Get up and running with Forkline in 5 minutes. This guide walks through the shortest path from sign-in to a live runner.
Sign In
Create your Forkline session and reach the dashboard.
Connect Provider
Authorize GitHub, GitLab, or Forgejo access.
Add AI Access
Use included models or bring your own provider key.
Activate Repo
Make the repository available to runners.
Start Runner
Choose a size and create the environment.
Connect
Open the runner in the browser, app, or CLI.
Prerequisites
Before you begin, make sure you have:
- A GitHub, GitLab, or Forgejo account
- A repository you want to work with
- An AI provider API key (Anthropic, OpenAI, and similar) if you want models beyond Forkline’s included free options
Step 1: Sign In
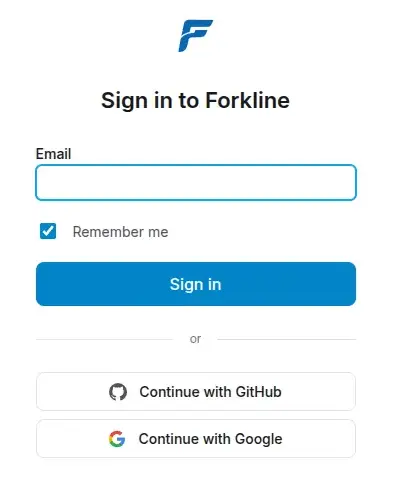
Sign in to Forkline to access your dashboard:
- Navigate to the Forkline sign-in page
- Click Sign in with GitHub or your preferred provider
- Authorize Forkline to access your account
- If your email is already registered, verify your email address
After clicking Sign in with GitHub, you are redirected to GitHub to authorize Forkline:
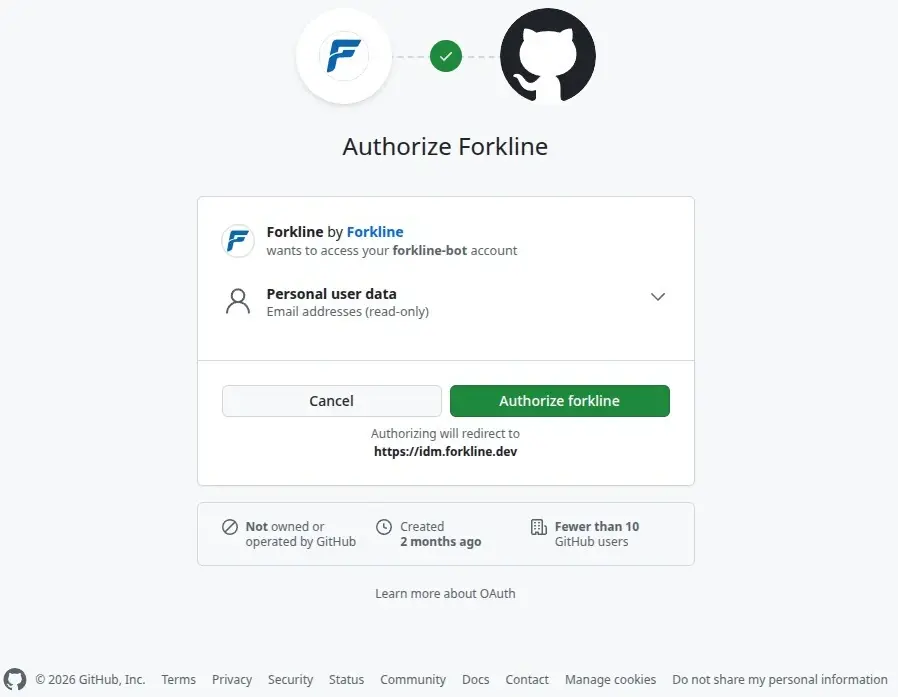
Note: If you already have an account with the same email, Forkline prompts you to link your GitHub account.
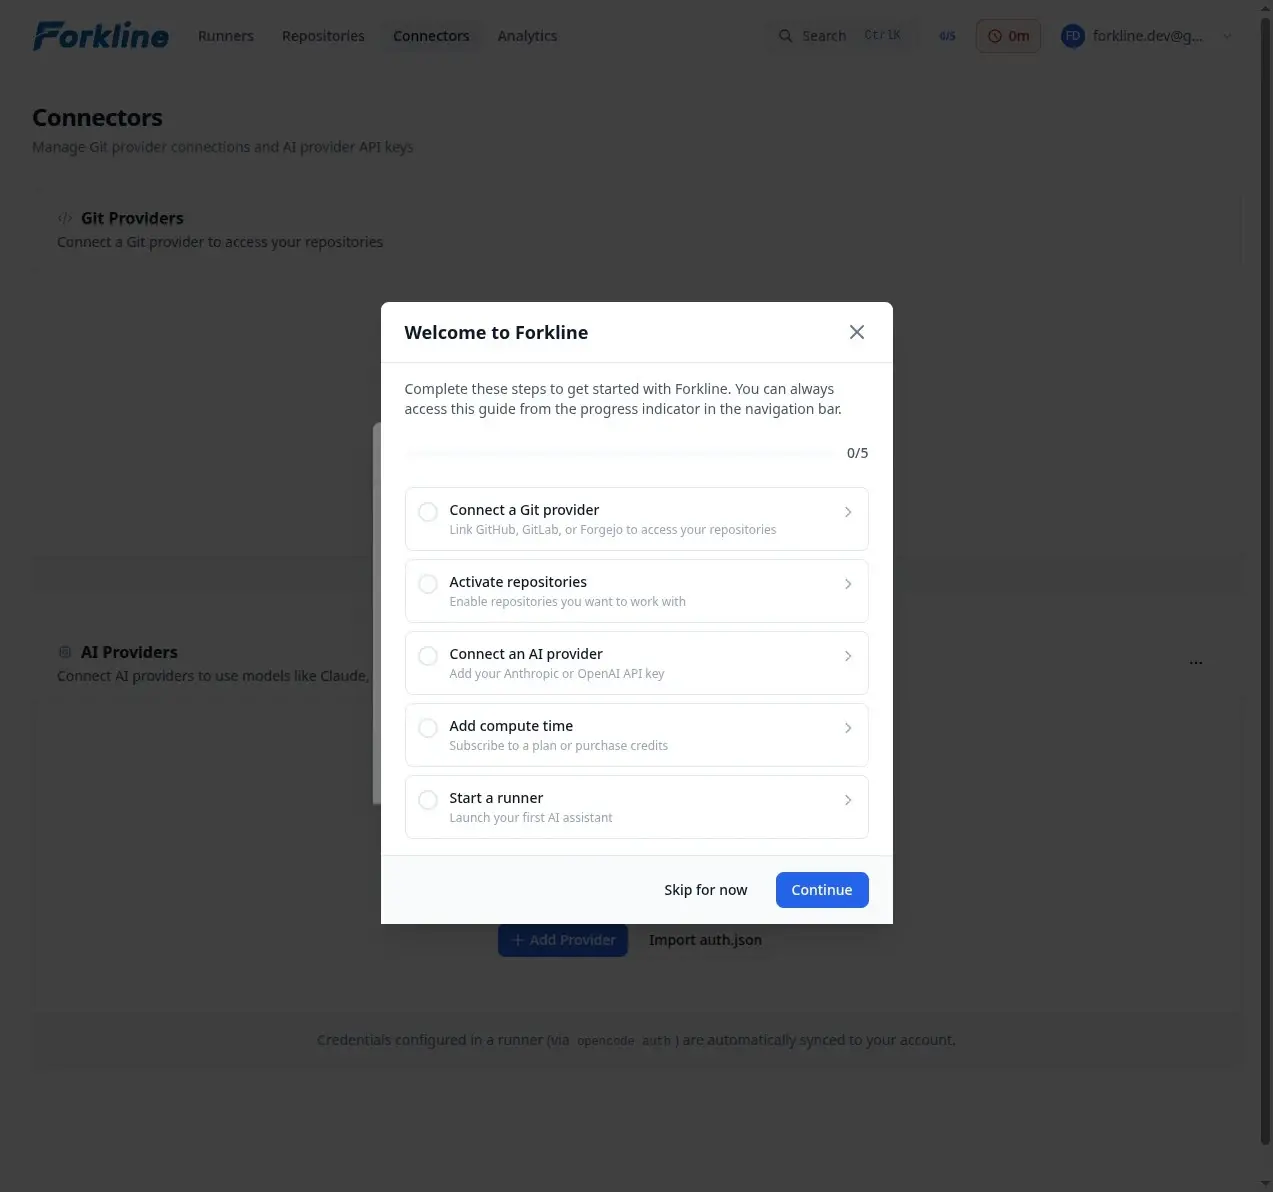
After signing in, you will see the welcome modal introducing the first steps:
GitHub App Permissions
When installing the Forkline GitHub App, you cannot modify the requested permissions. You can only accept or deny the installation.
- Contents (write): Clone repositories and push commits
- Issues (write): Read and comment on issues
- Pull requests (write): Create PRs, read PR details, and comment on PRs
These permissions are fixed by Forkline. Your choice is binary: accept the app as requested or deny the installation.
Dashboard Overview
After signing in, you land on the main dashboard:

The dashboard highlights:
- Your balance and usage
- Recent runners and repositories
- Quick actions to start new work
Navigation Tips
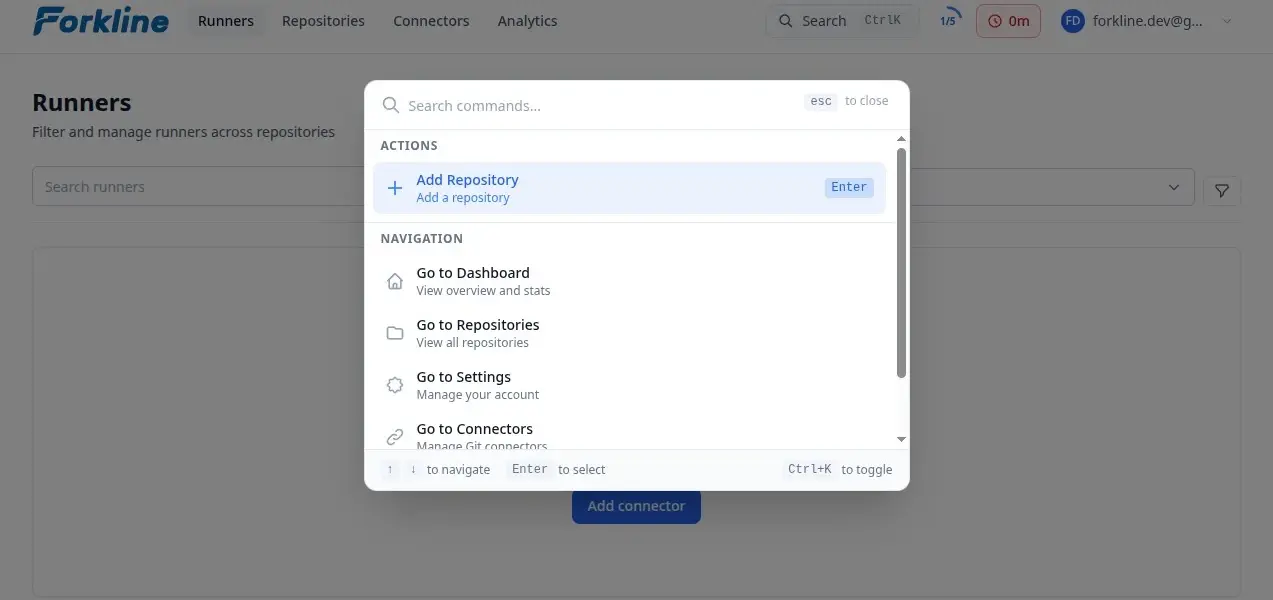
Use Ctrl+K (Windows/Linux) or Command+K (Mac) to open the command palette for quick navigation:
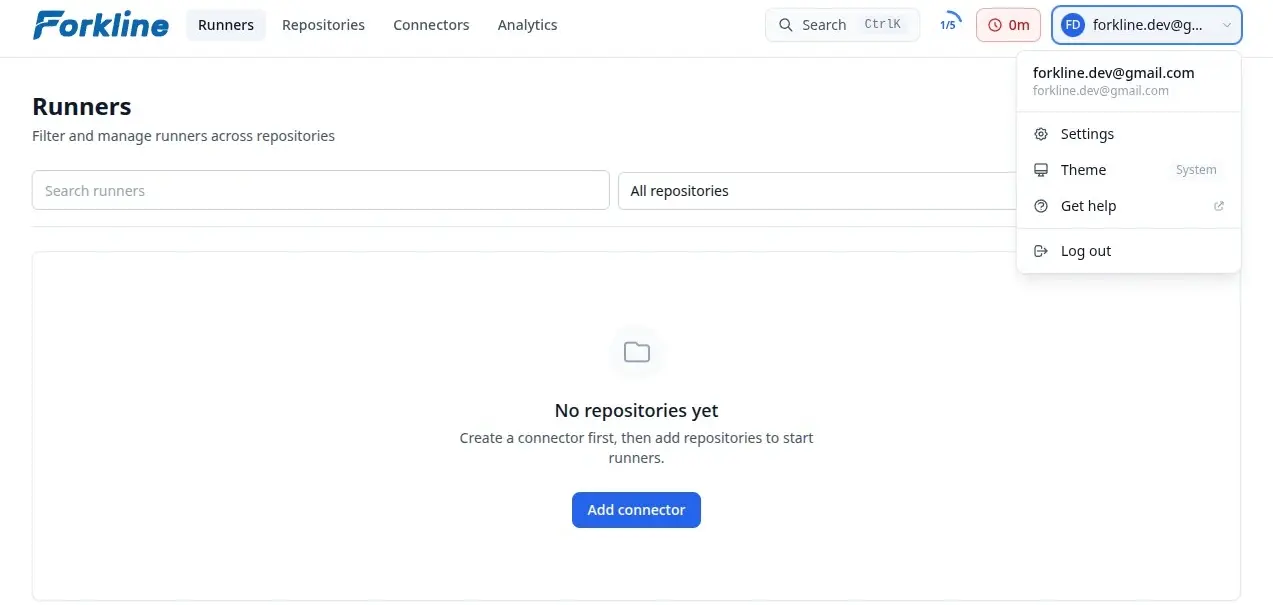
Click your avatar in the top-right corner to access settings, theme, and logout:
Step 2: Connect a Git Provider
Forkline needs repository access before it can create runners:
- Navigate to Git Providers in the navbar
- Click Connect Provider or Add Provider
- Select your git provider
- Complete the provider-specific authorization flow
Provider-specific notes:
- GitHub: Authorize the app installation flow
- GitLab / Forgejo: Enter your instance URL and PAT or token

Step 3: Configure an AI Provider
Add your AI provider API key if you want access to more models:
- On the Git Providers page, scroll to AI Providers
- Click Add Provider
- Select your preferred provider
- Enter your API key and click Save
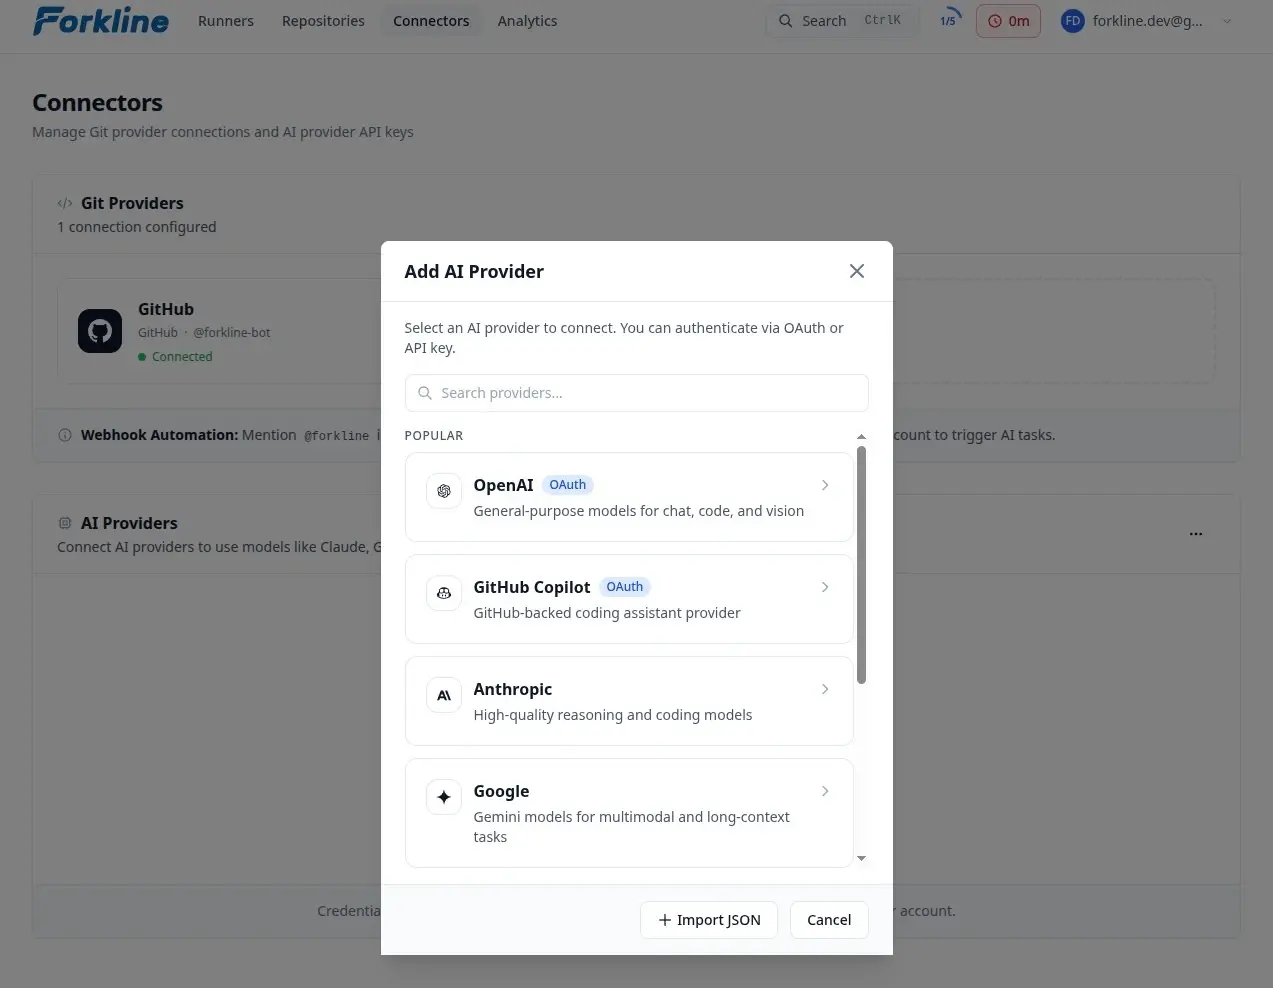
Note: Forkline includes free OpenCode Zen models. Adding your own keys unlocks GPT, GLM, Kimi, Claude, and other premium model families.
Step 4: Activate a Repository
Repositories from your connected providers appear automatically:
- Navigate to Repositories
- Find your repository in the list
- Click Activate
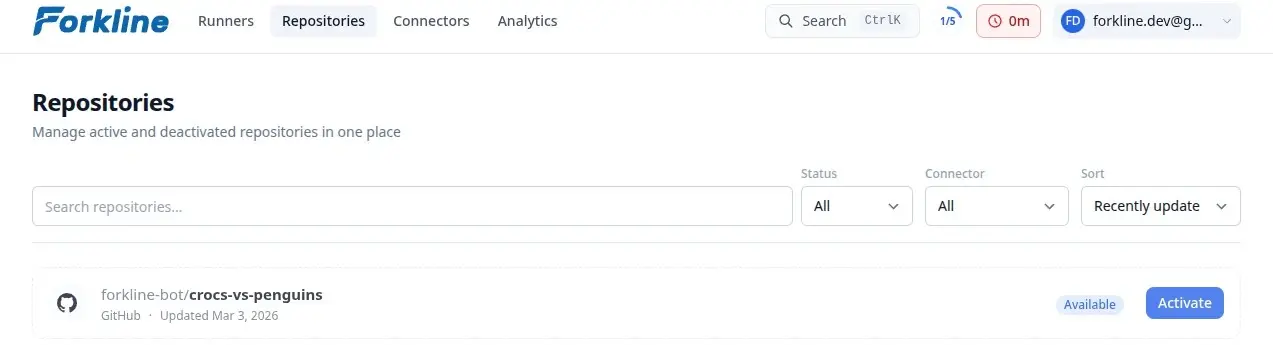
The repository status changes from Available to Active:
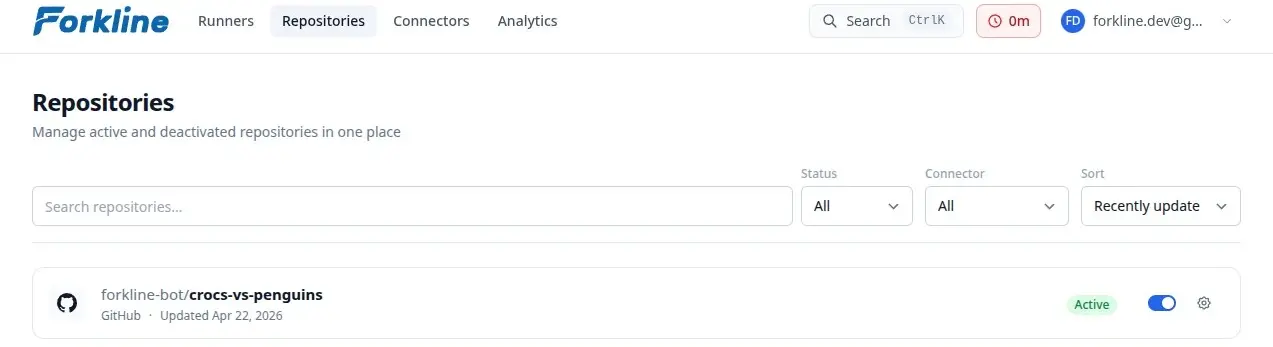
Note: Repositories sync automatically from your git providers. If a repository does not appear, check whether the git provider has access to it.
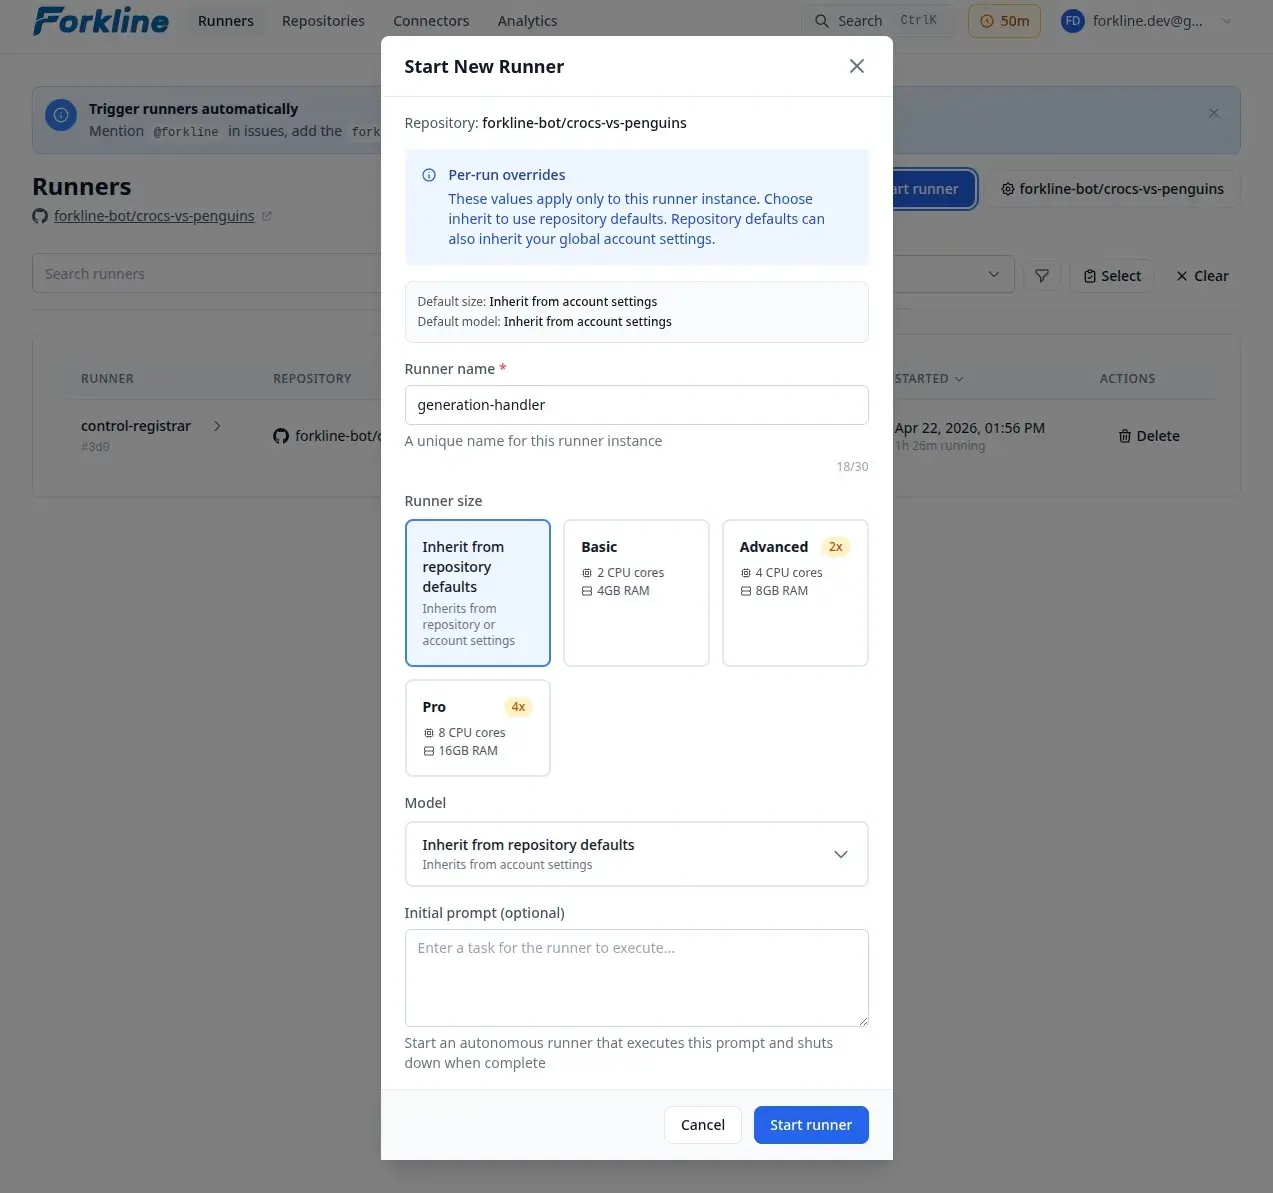
Step 5: Start a Runner
Once the repository is active, start your first runner:
- From the Repositories page, click the active repository card to open its runners view
- Click Start runner
- In the Start runner modal:
- Optionally, enter a custom name for the runner
- Select a runner size: Basic, Advanced, or Pro
- Optionally, to use a specific model, select from the dropdown
- Click Start
Note: On the Repositories page, clicking the repository name opens the repository on your git provider. Click the card to continue inside Forkline.
The runner is usually ready in 30 to 60 seconds. Status moves from Pending to Starting to Running.
Triggering Runners via Webhooks
You can also start work automatically from GitHub events:
- Open an issue in your repository
- Mention
@forklinein the issue body or a comment - Forkline starts a runner to work on it

Note: Webhook automation requires configured webhooks in your git provider.
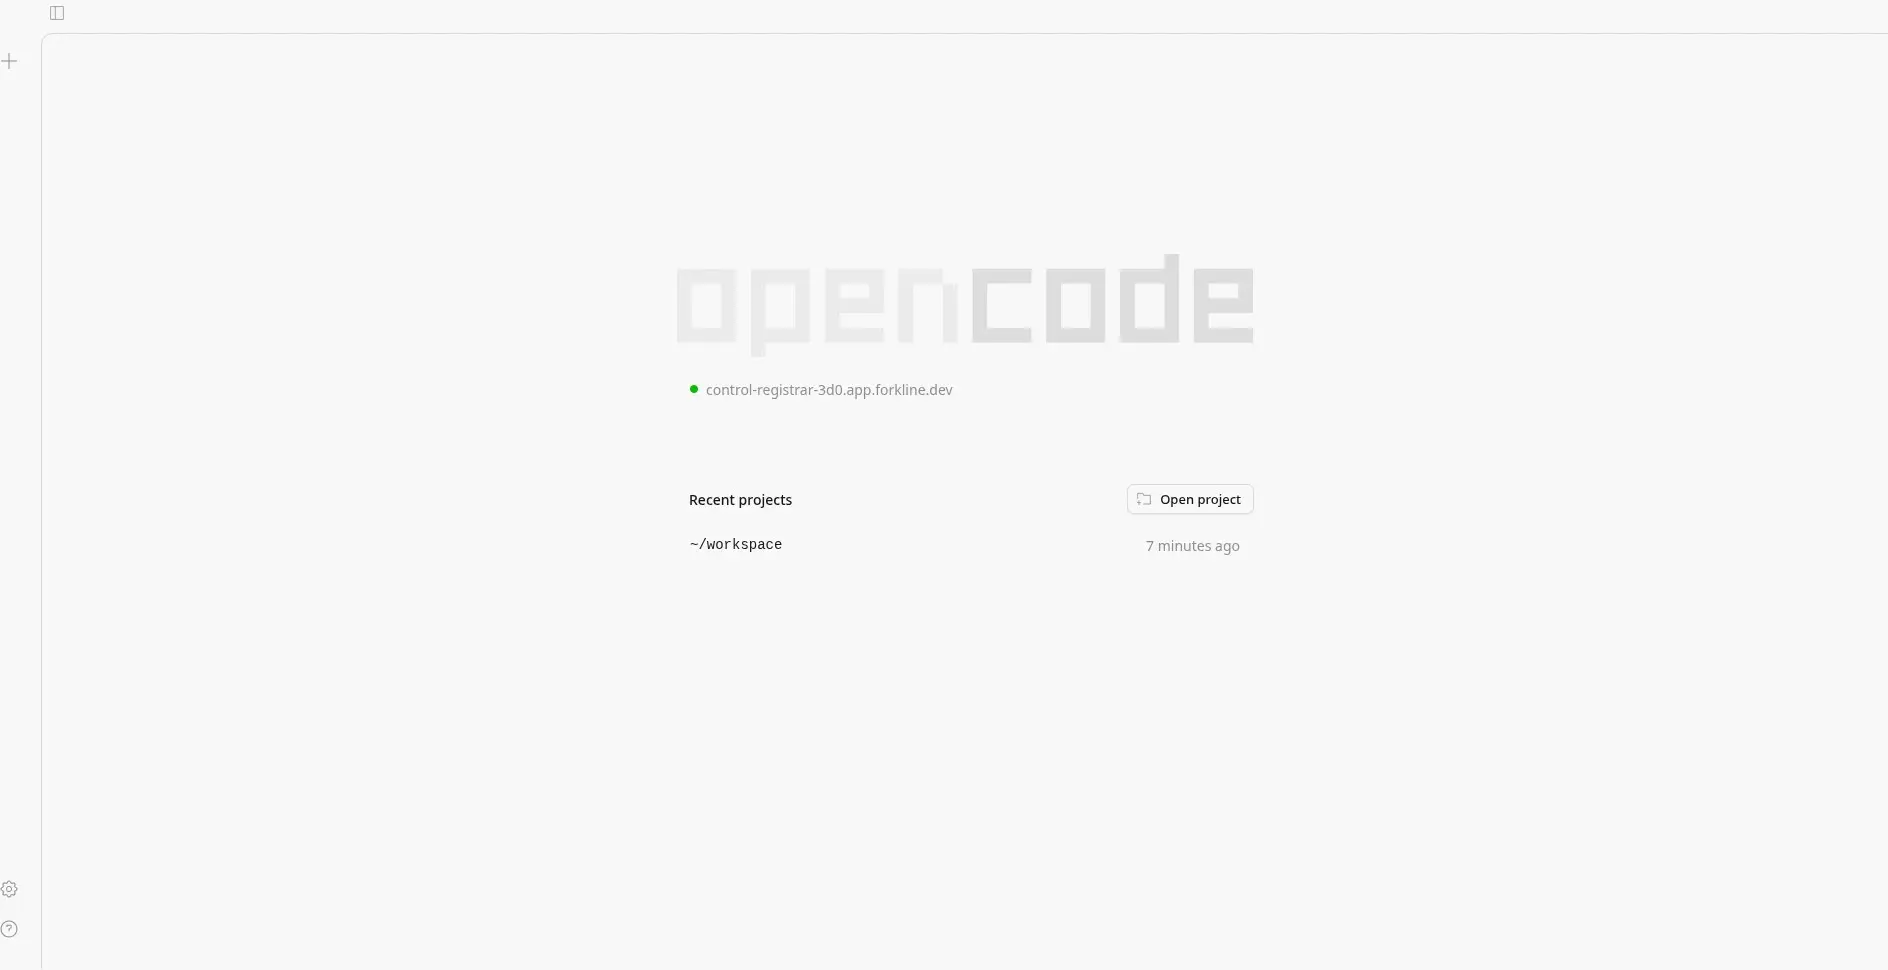
Step 6: Connect to Your Runner
Once the runner is running, connect to it in the interface that matches your workflow.
Browser
- Click the runner URL to open the web interface
- Use the built-in chat, file browser, and terminal
Desktop App
- Get your OpenCode password from Settings -> Security
- Open the OpenCode desktop app
- Enter your runner URL and OpenCode password
Tip: The desktop app works best for longer interactive sessions with file editing, terminal access, and collaboration.
What to Do Next
Now that you have a runner running, the next useful steps are usually:
- Ask the AI to make changes: Describe the work in natural language and review the result in your runner.
- Set up repository secrets
- Create setup scripts
- Configure webhooks
- Learn about runner sizes